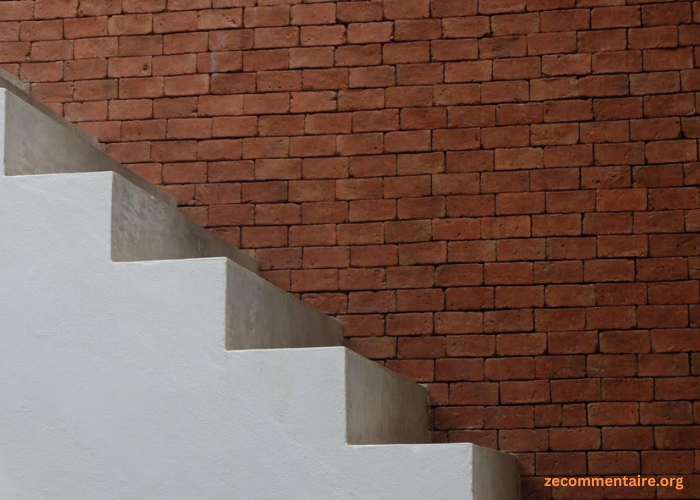
Installing floating concrete stairs in your home can add a unique and modern touch to your interior design. It also provides durability and stability. As with any home improvement project, it’s important to follow proper steps and guidelines to ensure a successful staircase installation.
In this guide, we will take you through the step-by-step process of installing floating concrete stairs in your home.
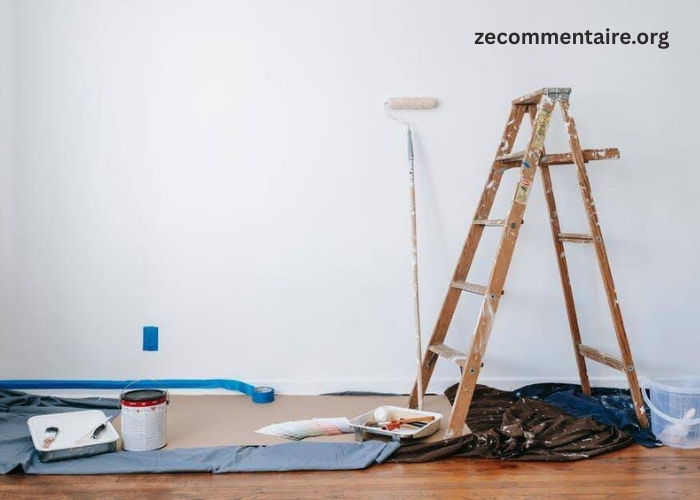
Step 1: Planning and Preparation
Before beginning the installation process, it’s important to plan and prepare accordingly. This involves taking accurate measurements of the area where the stairs will be installed, determining the stari design and style, and obtaining all necessary materials.
You can hire a concrete contractor to help with the planning process. They can also provide you with professional advice on the best design and materials for your specific space.
Step 2: Building a Solid Foundation
The first step in installing floating concrete stairs is to build a solid foundation. This will provide stability and support for your stairs, ensuring they can withstand heavy weight and traffic over time.
To build a foundation, you will need to dig holes in the ground where the stairs will be placed. These holes should be at least 2 feet deep and filled with concrete. You can also use pre-made concrete footings for added convenience.
Step 3: Installing Stringers
Stringers are the support system for your floating stairs, and they are typically made of metal or wood. They should be securely attached to both the foundation and the wall for maximum stability.
To install stringers, measure and cut them according to your desired stair height. Then, use screws or bolts to attach them to the foundation and the wall at appropriate intervals. It’s important to ensure that they are level and secure before moving on to the next step.
Step 4: Pouring Concrete
Now it’s time to pour the concrete for your stairs. You can either mix your concrete or use pre-mixed bags for convenience. Make sure to follow the instructions carefully and mix the concrete until it reaches a smooth consistency.
Once the concrete is ready, pour it into a form that matches the design of your stairs. Use a trowel to smooth out the surface and remove any air bubbles. Then, let it dry for at least 24 hours before moving on to the next step.
Step 5: Placing Treads
Treads are the part of the stairs that you will walk on, so they need to be strong and durable. They can be made of various materials such as wood, stone, or concrete.
To install treads, place them on top of the stringers and secure them with screws or bolts. Make sure they are evenly spaced and level before attaching them to the wall for added support.
Step 6: Finishing Touches
The final step in installing floating concrete stairs is adding finishing touches. This can include sealing the stairs for added protection and aesthetics, as well as adding handrails for safety.
You can also choose to paint or stain the stairs to match your home’s interior design. However, make sure to let the concrete fully cure before applying any finishes.
Install Floating Concrete Stairs in Your Home Successfully
By following these steps and taking the time to properly plan and prepare, you can successfully install floating concrete stairs in your home. This project may require some time and effort, but the result will be a beautiful and durable addition to your home’s interior. So get started on transforming your space with stunning floating concrete stairs today!
Is this article helpful? Keep reading our blog for more.